Practical care methods for Gerstner chests, wooden tool chests, and antique furniture.
Wooden tool chests and antique furniture can remain useful and beautiful for generations, but wood and its finish respond to moisture, dirt, sunlight, heat, and the products used to care for them.
Proper care begins by understanding what you are working with and using the least aggressive method that will do the job.
The methods in this guide are useful for many wooden tool chests and pieces of antique furniture, including Gerstner wooden tool chests. Because woods and finishes vary, however, always consider the particular piece before applying any cleaner, solvent, oil, wax, or polish.

1. Understanding Your Antique Wood
Before beginning the cleaning and care process, identify the type of wood and, when possible, the finish you are working with.
Different woods have different characteristics, and a treatment that works well on one piece may not be appropriate for another. Woods commonly found in antique furniture and wooden tool chests include oak, mahogany, walnut, pine, and cherry.
The finish matters as well. Bare wood, oil-finished wood, shellac, lacquer, varnish, and other sealed surfaces may respond differently to cleaning and conditioning products.
If you are unsure what you are working with, consult someone familiar with wood restoration or test the proposed treatment on a small, inconspicuous area before applying it more broadly.
As a general rule, use the mildest cleaning method that will accomplish the job.
2. Cleaning Essentials
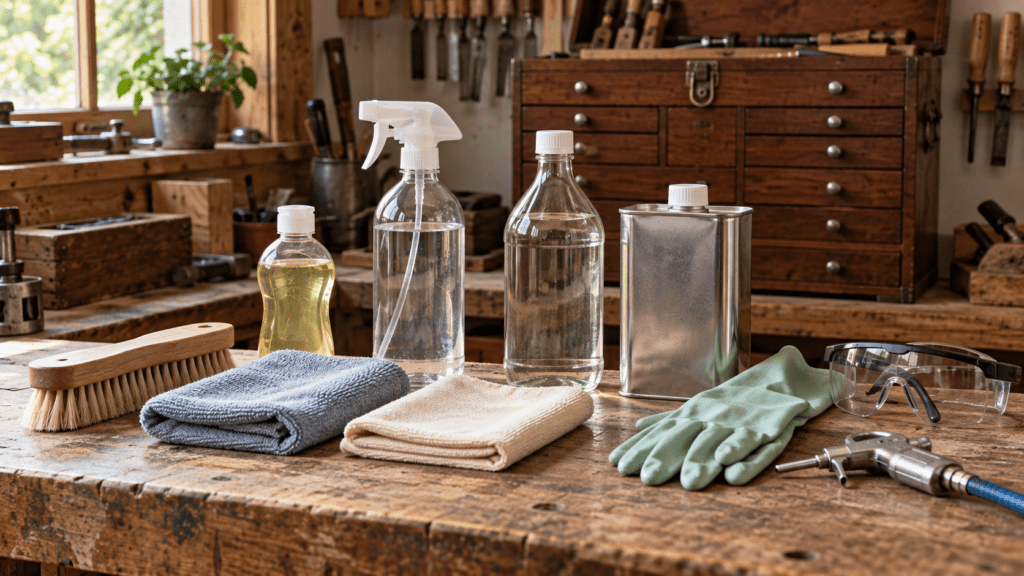
Materials Required
- Soft-bristled brush or low-pressure compressed air
- Safety goggles when using compressed air
- Soft cloths, preferably microfiber
- Mild dish soap
- Fresh water
- Spray bottle
- White vinegar
- Mineral spirits
- Rubber gloves
Procedure
1. Dusting
Place the furniture or wooden tool chest in a well-lit area where you can clearly see the surface and any accumulated dirt.
Using a soft-bristled brush or low-pressure compressed air, gently remove loose dust and debris.
If you use compressed air, wear safety goggles and avoid using excessive pressure. The goal is to lift dirt away from the piece, not force it deeper into joints, corners, drawer openings, or the finish.
2. Basic Cleaning
Mix approximately one teaspoon of mild dish soap with one quart of lukewarm water.
Apply the solution to a soft cloth rather than spraying it directly onto the wood. The cloth should be damp, not saturated.
Gently wipe the surface.
Follow with a separate cloth lightly dampened with clean water to remove any remaining soap residue, then dry the surface with a clean cloth.
Do not allow excess water to remain on the wood or collect around joints, drawer openings, hardware, or edges.
3. Intensive Cleaning
For stubborn grime or staining that mild soap does not remove, mix equal parts white vinegar and warm water.
Apply the mixture to a cloth and gently work the affected area.
Avoid soaking the wood or allowing the solution to remain on the surface longer than necessary.
4. For Resilient Marks
For marks that remain after gentler cleaning, mineral spirits may be useful.
Wear rubber gloves and work in a well-ventilated area.
Dampen a cloth with mineral spirits and gently work the affected area rather than applying the solvent directly to the wood.
Always test mineral spirits on a small, inconspicuous area first.
Important Note About Finishes
Because finishes vary, always test cleaning solvents, oils, waxes, and polishes before treating the entire piece.
Do not assume that a product suitable for bare wood or an oil-finished surface is appropriate for every sealed, lacquered, varnished, shellacked, or otherwise finished surface.
After stronger cleaning, determine whether the existing finish calls for additional conditioning or protection rather than automatically applying oil to every piece.
3. Restoration and Protection
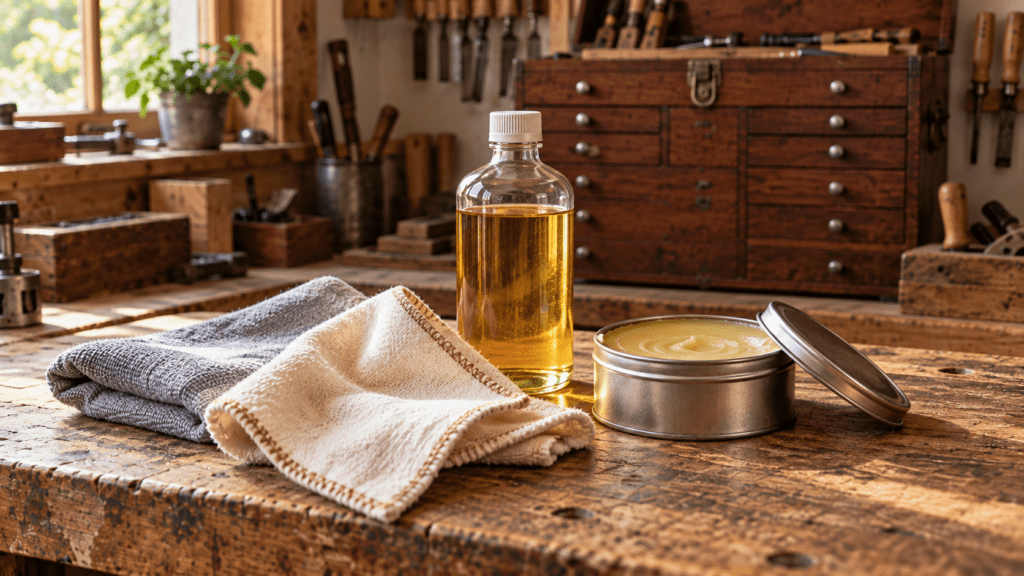
Materials Required
- Soft, clean cloths
- Mineral oil or linseed oil, when appropriate for the wood and finish
- Quality wood wax or polish appropriate for the existing finish
Procedure
1. Conditioning and Protection
Once the wood is clean and completely dry, determine whether the existing surface is suitable for an oil treatment.
Where appropriate, apply a thin layer of mineral oil or linseed oil using a soft cloth and working in the direction of the grain.
Apply the oil sparingly and evenly. More is not necessarily better.
Oil treatment may be useful on suitable unfinished or oil-finished wood, but it should not automatically be applied over every furniture finish. If you are uncertain about the existing finish, test first or seek advice before proceeding.
2. Waxing or Polishing
If the finish is suitable for wax or polish, apply a small amount of a quality wood-care product to a soft cloth.
Work it over the surface according to the product directions, using an even application.
Allow it to sit for the recommended period, then buff the surface with a clean cloth.
The objective is to protect and maintain the existing finish—not to bury the wood beneath unnecessary layers of product.
4. Traditional DIY Wood-Care Mixture
The following traditional-style mixture combines boiled linseed oil, vinegar, turpentine, beeswax, and essential oils.
Because it contains strong solvents and drying oils, use it only where appropriate for the wood and existing finish, test it first, and observe the safety precautions below.
Ingredients
- 1 cup boiled linseed oil
- 1/2 cup white vinegar
- 1/4 cup turpentine
- 1/4 cup beeswax pellets
- 10 drops cedarwood essential oil
- 10 drops lemon essential oil
Procedure
1. Preparation
Using a double boiler, melt the beeswax pellets.
Work in a well-ventilated area and keep the mixture well away from open flame, sparks, or other ignition sources.
2. Mixing
Once the beeswax has melted, gradually add the boiled linseed oil while stirring continuously.
Add the turpentine, white vinegar, cedarwood essential oil, and lemon essential oil.
Continue stirring until the mixture is evenly combined.
3. Storage
Transfer the mixture to a suitable airtight container and allow it to cool and solidify.
Store it in a cool, dark location.
Before using stored material, inspect it for mold, an unusual odor, or other signs of deterioration. If anything seems wrong, discard the mixture and make a fresh batch.
4. Application
First test the mixture on a small, inconspicuous area.
If the result is satisfactory and the treatment is appropriate for the finish, apply a small amount with a soft cloth, working on one section at a time.
Spread the mixture evenly. Allow it time to work according to the needs of the surface, then buff with a clean cloth.
Important Fire-Safety Warning
Rags containing boiled linseed oil can generate heat as the oil cures and may ignite if they are left folded, piled, or crumpled together.
Do not leave oil-soaked rags in a pile, trash can, container, or workshop corner.
Handle, store, and dispose of used rags according to the fire-safety instructions supplied by the linseed-oil manufacturer and applicable local requirements.
Turpentine is also flammable. Keep it and the finished mixture away from flames, sparks, heat sources, and other ignition hazards.
5. Additional Care Tips
- Work in good light and with adequate ventilation.
Good visibility helps you spot dirt, damage, uneven treatment, and other problems before they become worse. - Lift rather than drag.
When moving wooden furniture or a substantial tool chest, lift it whenever practical instead of dragging it across the floor. Dragging can damage feet, bases, joints, and the surrounding structure. - Avoid prolonged direct sunlight.
Strong sunlight can contribute to fading, drying, and changes in the appearance of wood and its finish. - Keep wooden pieces away from strong heat sources.
Heaters and other sources of concentrated heat can encourage excessive drying and movement in the wood. - Be mindful of heating and air-conditioning vents.
Constant exposure to very dry heated or conditioned air can contribute to changes in moisture content and may encourage shrinking, cracking, or warping over time. - Watch for insect activity.
Periodically inspect older wood for small holes, fresh powder or frass, damaged areas, or other evidence that may indicate wood-boring insects.If you find signs of an active infestation, isolate the affected piece when practical and seek an appropriate treatment before the damage progresses. Avoid indiscriminately applying pesticides or other chemicals to valuable wood or finishes. - Pay attention to small changes.
Loose hardware, sticking drawers, new cracks, finish deterioration, moisture damage, or other changes are generally easier to deal with early.
Care Is Part of Ownership
A well-made wooden chest or piece of furniture does not have to remain untouched to be properly cared for.
Working objects acquire evidence of use. A scratch, small dent, worn handle, or softened edge may simply be part of a useful life. Care is not about removing every sign that an object has been used.
It is about protecting the work beneath those signs of use.
Understand the material. Start gently. Use stronger treatments only when the condition actually calls for them. Pay attention to the finish, the environment, and the small problems before they become large ones.
A piece that was made well deserves to be cared for well.
More than 180 years ago, a Scottish workman in James Fenimore Cooper’s Wyandotté; or, The Hutted Knoll put the idea plainly:
“The thing that is well done, is done with the least noise and confusion.”
Good care often works the same way.
No unnecessary complication. No aggressive treatment simply for the sake of doing something.
Just understand the work in front of you and do what it needs.
Guid wark.